Mapping out walking routes is a necessity for numerous attractions and sites, from local woodlands and nature reserves to sprawling country parks and reservoirs – but creating safe, fun and accessible routes can be complex.
That is down to varied factors, such as catering to guests of varied fitness levels and abilities and ensuring that potentially dangerous terrain like steep drops and deep water is clearly marked. Site managers may also need to create several routes for guests to choose from, depending on their mobility or time expectations.
Fitzpatrick Woolmer’s outdoor signage specialists have shared our advice about the best way to start planning – with some hints about incorporating signage into your user experience.
1. Define the objective of each walking route
The first element of planning any walking route is to define what your user, visitor or guest is expecting. That’s because a route you’ve devised for a seasoned hiker who loves navigating challenging slopes will look very different from that for a family enjoying a relaxed nature trail.
That doesn’t, of course, mean one site or parkland can’t have several routes. In many cases, this is a great way to broaden usage of your setting, creating different options for your visitors to choose from based on whether they are:
- Walking or running at a pace
- Strolling to soak in the scenery and sights
- Looking for routes that are a physical workout
- Spending downtime with family and friends
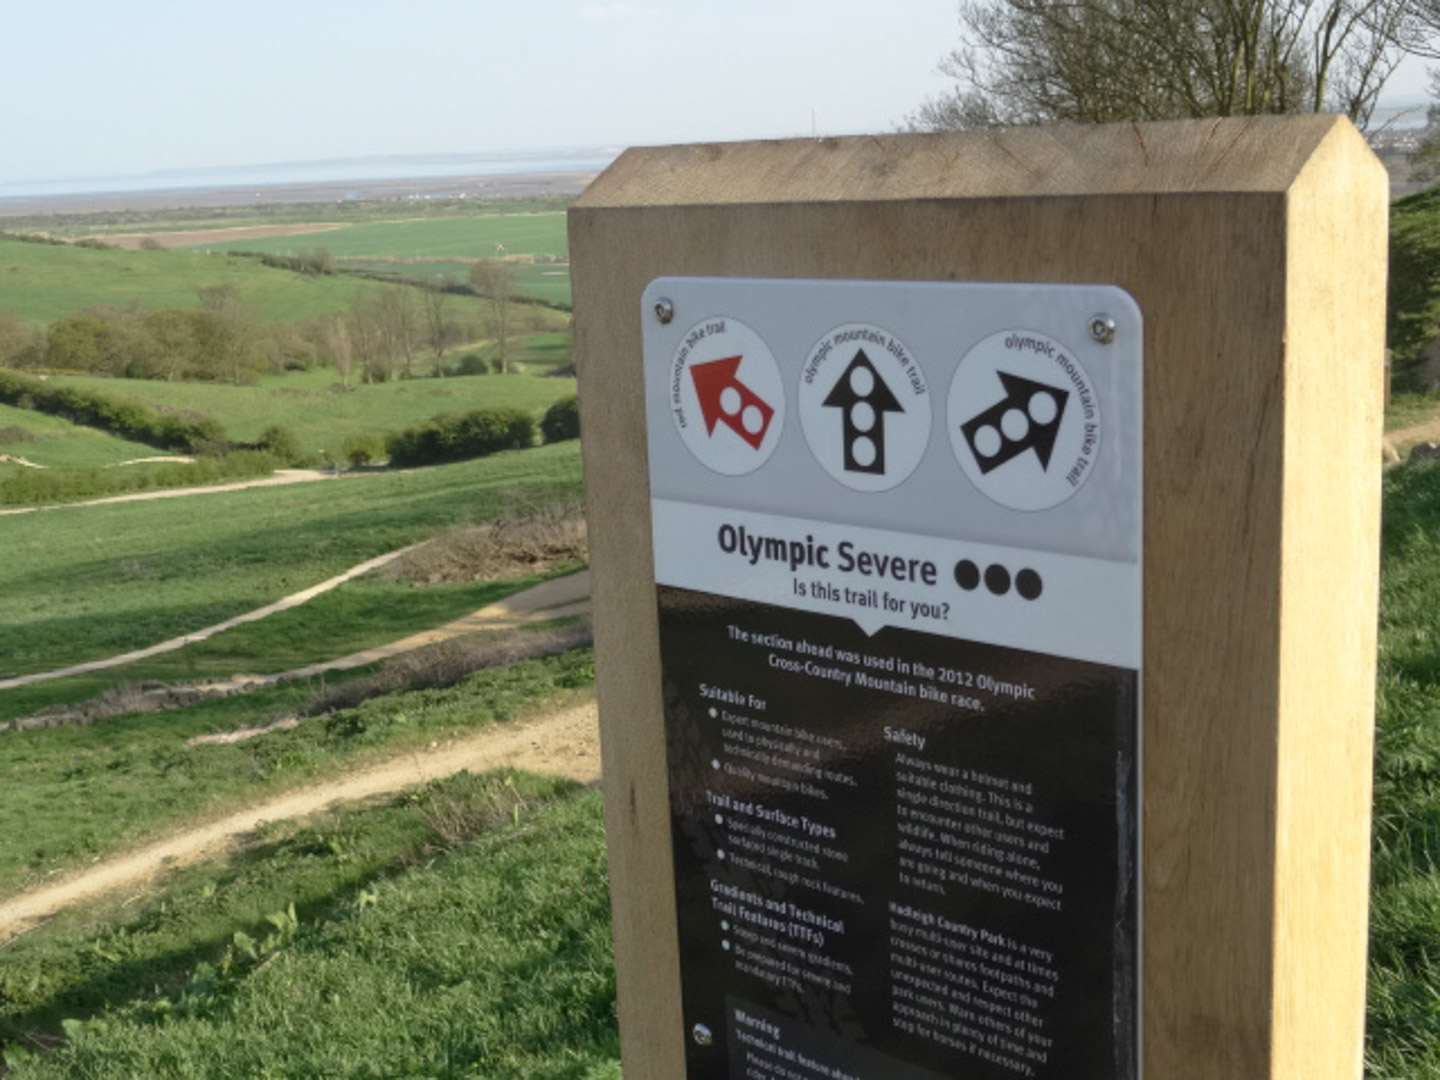
You’ve likely visited woodlands and forestry trails with colour-coded fingerposts and signage, which is something we often suggest for sites that have mixed visitor groups.
For example, you might have a yellow route that is safe for young children and buggies, an orange route that requires some physical exertion and a red route that is only suited to those happy to tackle boggy ground, steep climbs or who have navigation skills.
2. Log all start and end points, hazards and challenges
Next, you’ll need to imagine how your visitor will join and leave each trail. There might be a natural starting point where all trails or routes commence, or you may need to direct guests to different entrances where their preferred route begins.
There must also be a defined endpoint. This ensures that any visitor will know they will arrive back at the start or exit at the car park, main gates, or another designated meeting area if they follow the directions.
For public access spaces like country parks, that could even be a local pub or a picnic area!
If you’re working with a site that doesn’t already have established paths, you may then need to use terrain maps to look at natural routes that fit into the difficulty level of the walkways you’re mapping out, logging:
- Large trees, walls, fences and anything else that cannot be moved and will need to be navigated around.
- The incline of all hills and slopes, especially where the ground may be boggy or uneven, requires a warning for buggy or wheelchair users.
- Areas with safety hazards include water, steep drops like cliff edges, sinking sand or mud, streams, and obstacles like stiles.
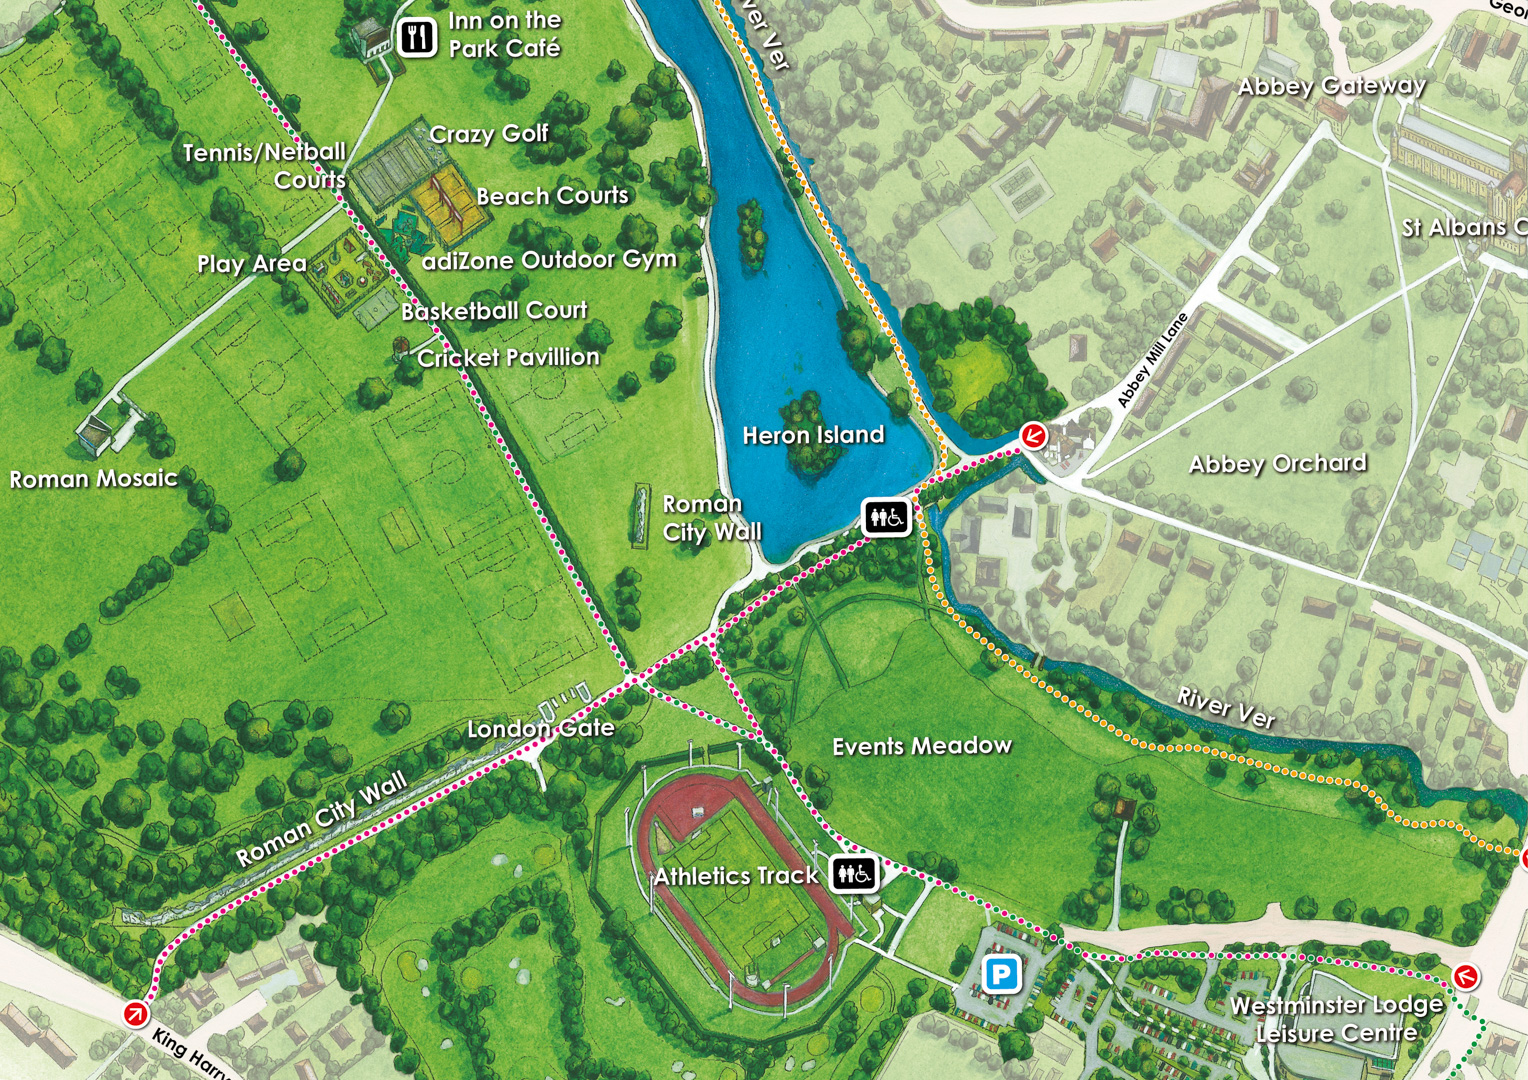
- Focal points and areas of interest your visitors will want to see, such as local flora and fauna, ancient trees and sweeping views.
- Facilities along the way, from cafes and play parks to first aid points, photography opportunities, kiosks and toilets.
Once you have all these details, you should be able to draft out potential routes that either include or avoid the tougher walking conditions, are accessible from an entrance or car park, and cover an estimated distance.


3. Time the length of each route: based on different walking speeds
The next task is to practice walking the route – and if this is before clearing paths, bracken and shrubbery, it’s wise to do so with an experienced walker or guide, using sensible walking shoes and poles.
You can use a map or digital route planning to walk your planned path at an easy pace, which will give you a good idea of how long it takes an average walker to complete the route, assuming all paths have been cleared and are relatively even.
This aspect is essential because a pleasant afternoon’s walk could become much less enjoyable for a person who finds the walk too difficult or takes considerably longer than expected, so it is better to be conservative.
It’s also worth remembering that walking routes may take longer to navigate in different weather conditions. If your site is open year-round, you may need to allocate extra time to accommodate periods of heavier rainfall or stronger winds.
4. Consider how your visitor will select their preferred pathway
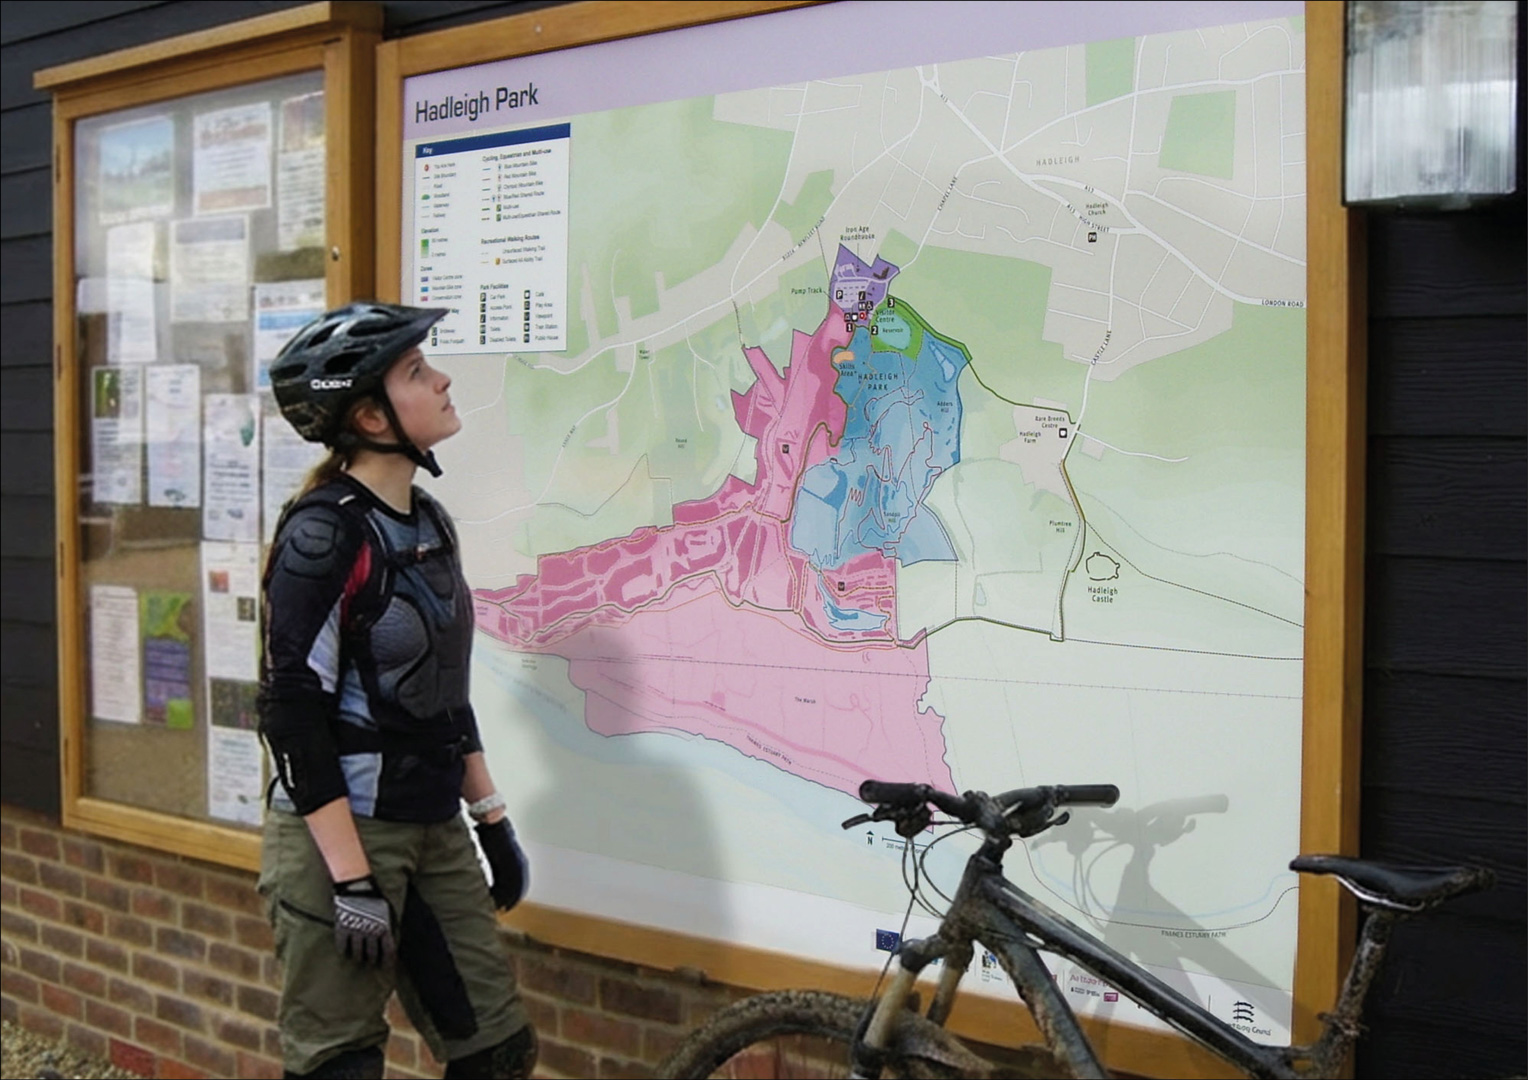
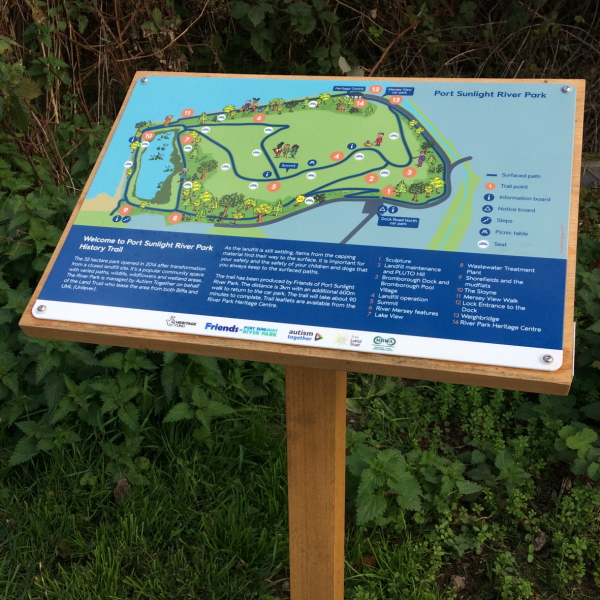
Now that you have a planned route, or several routes, you should consider how your visitors will know which path is most suitable for them. Some settings may require maps and a basic level of navigation, whereas other attractions designed for visitors will have wayfinding and directional signage that makes them accessible to all.
We talked about colour-coding earlier as a simple way to differentiate between routes of varied difficulty levels, but we’d also suggest thinking about:
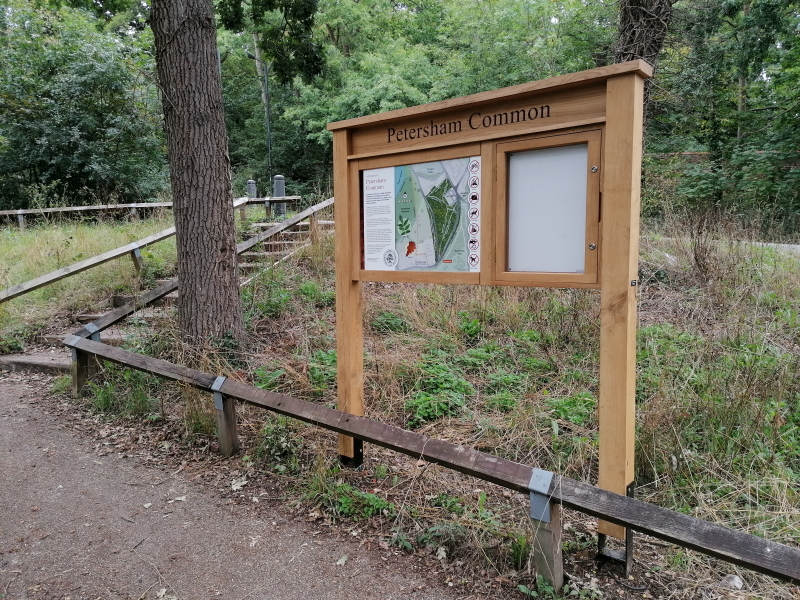
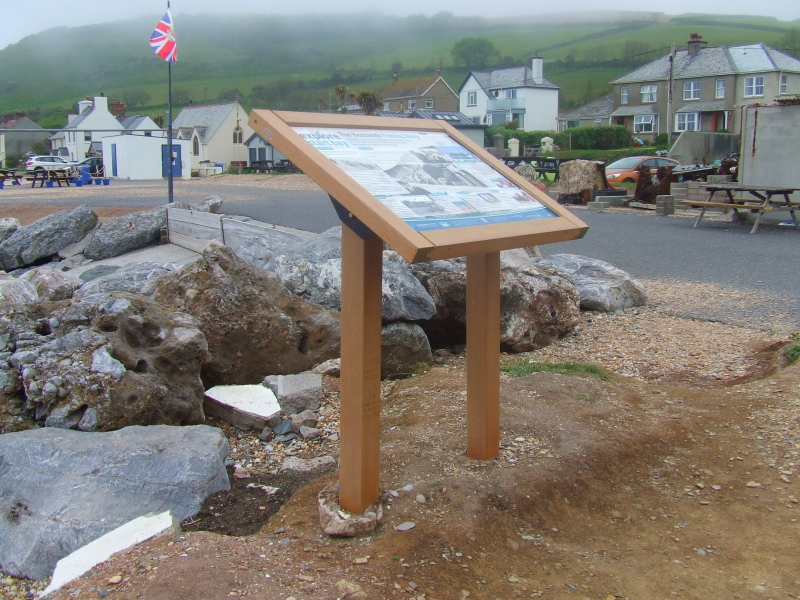
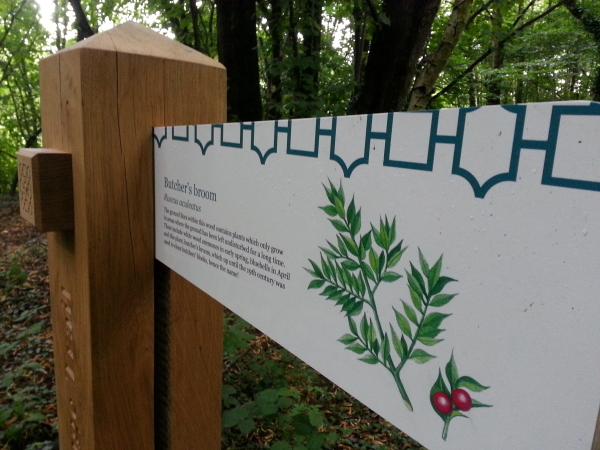
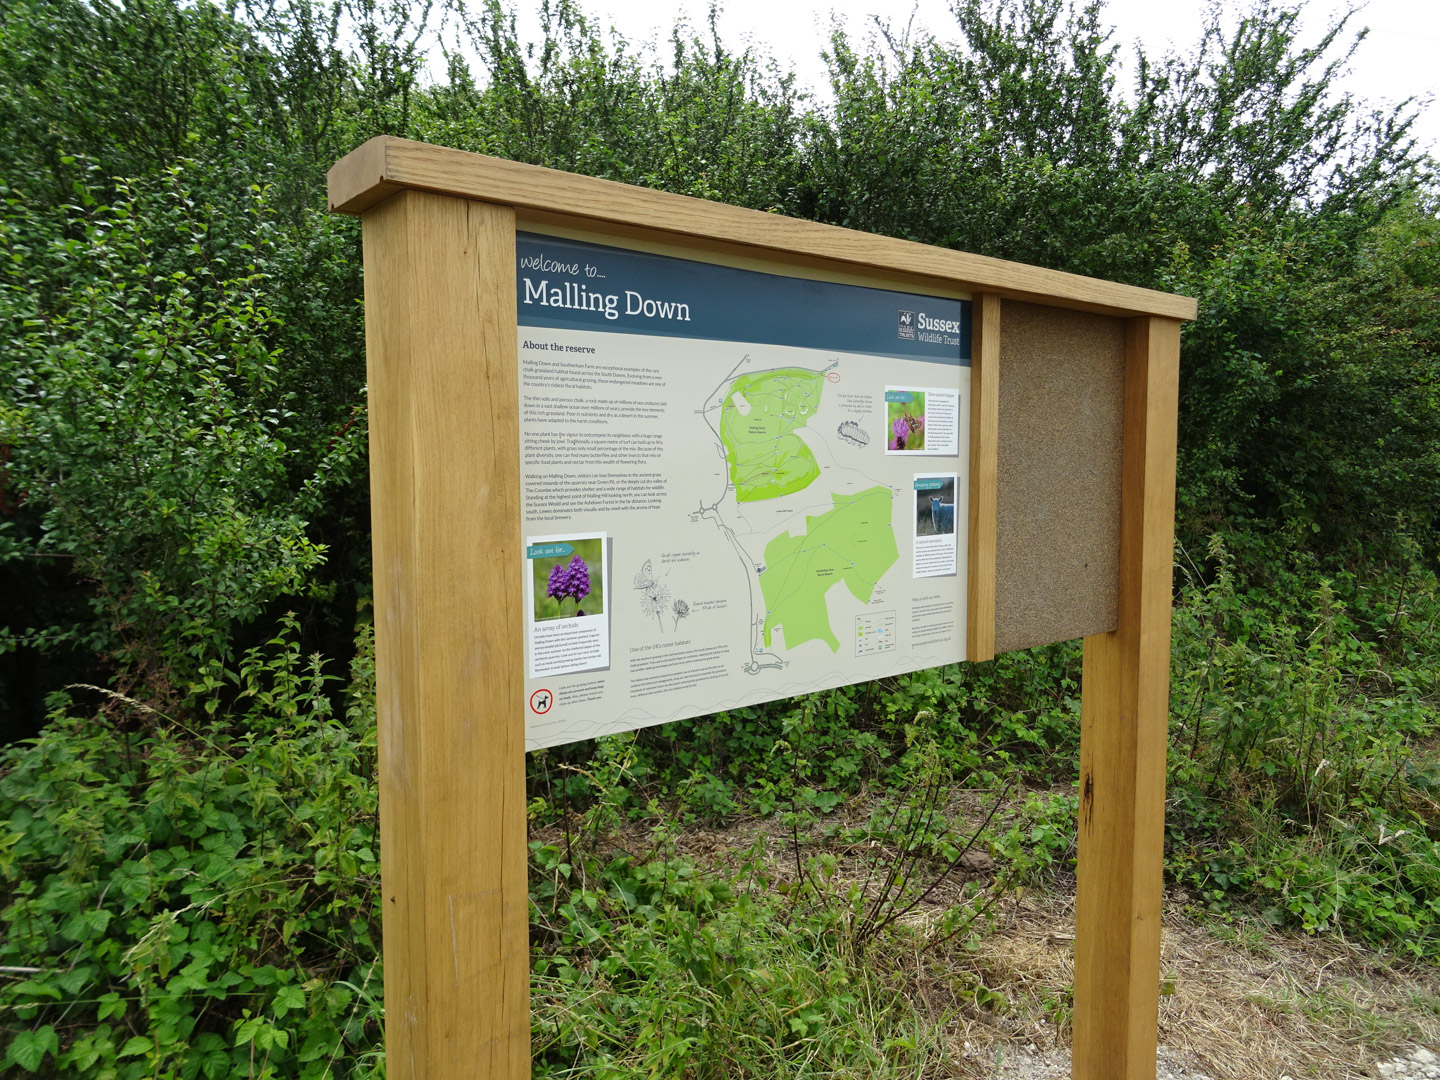
- Educational signage, explaining why areas, landmarks or monuments are significant, and sharing the history or origins of the outdoor space.
- Information for children, such as creative mapping or illustrations to help them spot butterflies, find bluebells or go on a minibeast hunt.
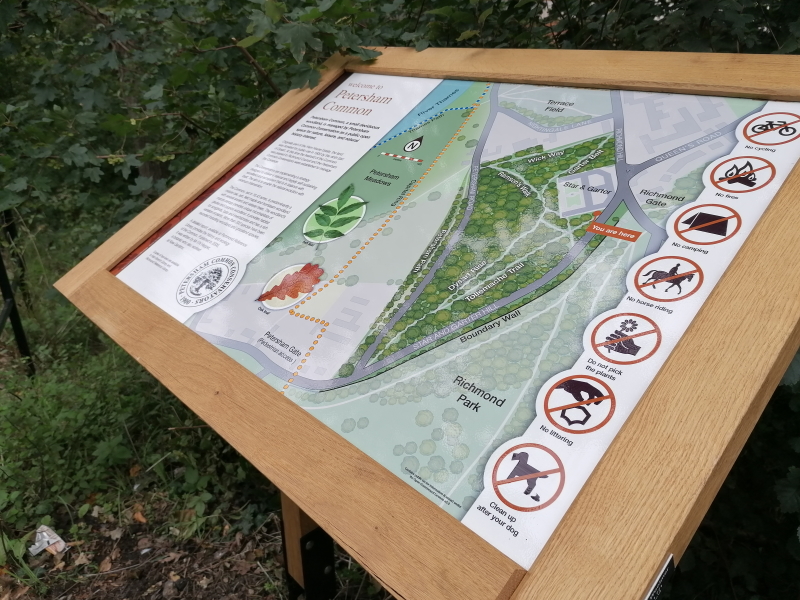
- Safety signage, to ensure that every visitor is aware of areas out of bounds or close to hazards.
- Details around prohibited use of the setting, such as bans on BBQs, reminders to remove all litter, fields or zones that are private and not accessible, or notices to reinforce the importance of protecting delicate ecosystems.
Great signage can make a substantial impact on the way a visitor experiences a walking route, and it’s vital to consider how someone who has never been to your site before will navigate, know where to go, and make the most of their time on your site.
If you’d like further information about planning out a walking route, making these walks accessible, or installing quality signage along the way, you are welcome to contact the Fitzpatrick Woolmer team or review previous projects and case studies through our galleries.